Do you want to search in all categories or in this category ?

1. Where to start a flow
Flows are applied on a document or a contract.
1.1. Starting from a document
Open the document you want to send out in a flow and click on the top side of the screen on the tab ‘Flows’
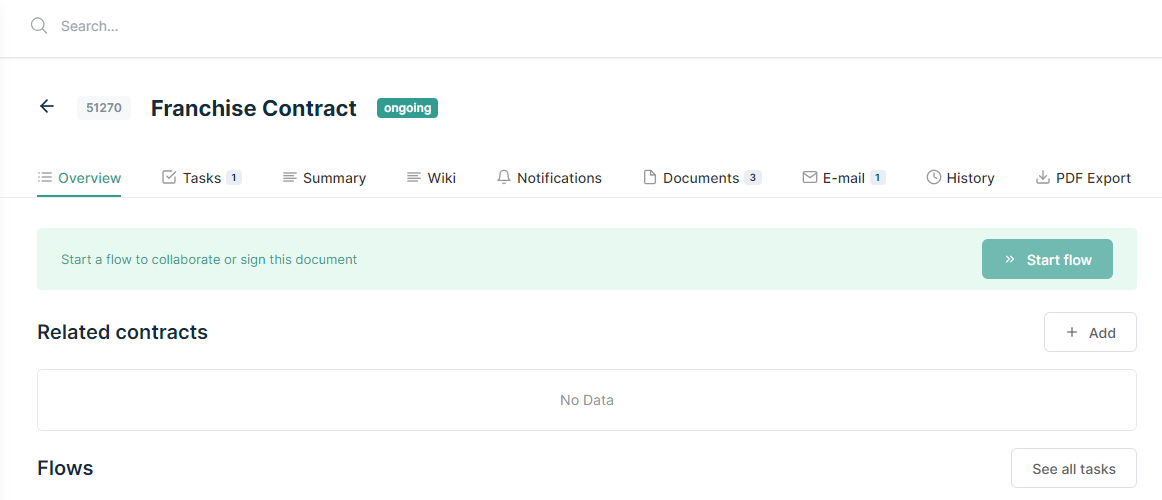
1.2. Starting from a contract
In the following example we start from a contract with two documents attached.
Only the documents that are not in a flow or an e-signing trajectory already (2 out of 3), will appear in the dropdown. Select the documents you want to include in the flow process.
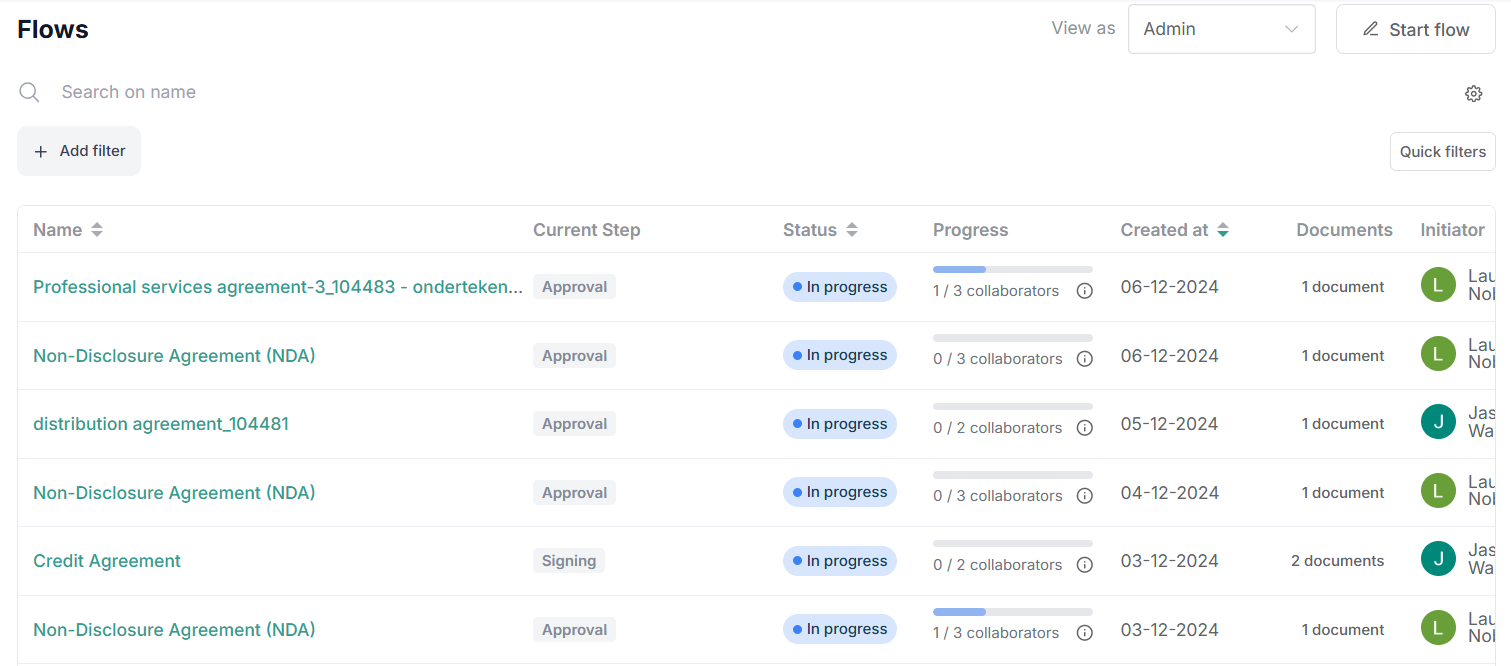
1.3. Starting from the Flows page
On the left section of Contractify, click the Flows button.
It’ll lead you to the general overview of all flows that you either initiated or have a task in.
When clicking on the button ‘Start flow’ on the top right, a new window to start configuring your flow will open.
Note: When you are an admin, use your admin view.
As you can see, you can immediately select the documents you want to include in your flow.
2. Which flow to start
There are 2 options to start a flow.
You can either start from a predefined flow template that is available in the dropdown list or with an empty flow that you build to your needs or use.
2.1. Starting a flow from a template
Flow templates are created and managed in the Settings tab of Contractify by your admin.
Flow templates can be linked to departments and offices, making it easier to find the right template for your flow. You can also see the properties of each flow:
Approval
Legal approval
Signing
Locked
Select the template you wish to start from.
When a template is locked you can not remove collaborators or alter steps.
You can always add colleagues though.
If signing is selected, a mandatory step to configure signing will be added.
You’ll not be able to start your flow without adding signing fields first.
You have now configured your flow. You can either save it as draft (for example to be sent out later) or start the flow immediately.
2.2. Creating your ad hoc flow from an empty flow
The configuration model lets you decide the different steps in the approval process.
You can add as many steps as needed to mimic the workflow a document would normally have going from desk to desk.
Approval and signing can both be done in a sequential or parallel manner so you’re certain the document goes through all the right steps at the right time.
The following example is probably the most straightforward there is.
A given team in a company needs to approve a document.
Once they’ve approved the legal manager/counsel needs to approve as well to mitigate risks.
After the document is approved, it needs to be signed by the CEO/CFO as well as by the other party.
Important notes:
If signing is selected, a mandatory step to configure signing will be added.
Adding an external user (not known as a user in Contractify) is only possible as a signing step (not approval). Simply add an email address. The signer is marked as External.
If you want to reuse a flow you’ve built, you will need to create a template via Settings or ask your admin to do so.
TIP: Before starting to configure the flow, you can edit the name to recognize it more easily in the overview. For example you can add the name of the other party and/or the date of starting the flow.
After configuring the flow you can choose to safe it as draft or to start it immediately. Saving a flow as a draft might be handy if you already want to have your flow configured, but you don't want to send it out just yet. E.g. a flow containing all documents your new employee has to sign the week before starting.
When you choose to start the flow, all documents will be sent out to the stakeholders imediately.
You can follow-up on the status of the flow via the overview on Flows page.