Wilt u zoeken in alle categorieën of in deze categorie?

The initial part of the configuration needs to be done in the Microsoft Azure Portal (By an Admin):
Sign in to the Azure portal
Switch to the tenant in which you want to register the application, if you have many tenants.
Select Azure Active Directory
Under Manage, select App registrations > New registration.
Give it an easy to find name (e.g. "Contractify SharePoint Integration")
Add these permissions:
openid
profile
offline_access
Files.Read.All
Sites.Read.All
The SharePoint file picker works on behalf of the user, so you want delegated permissions, not application permissions.
Configure the redirect URI using the type SPA
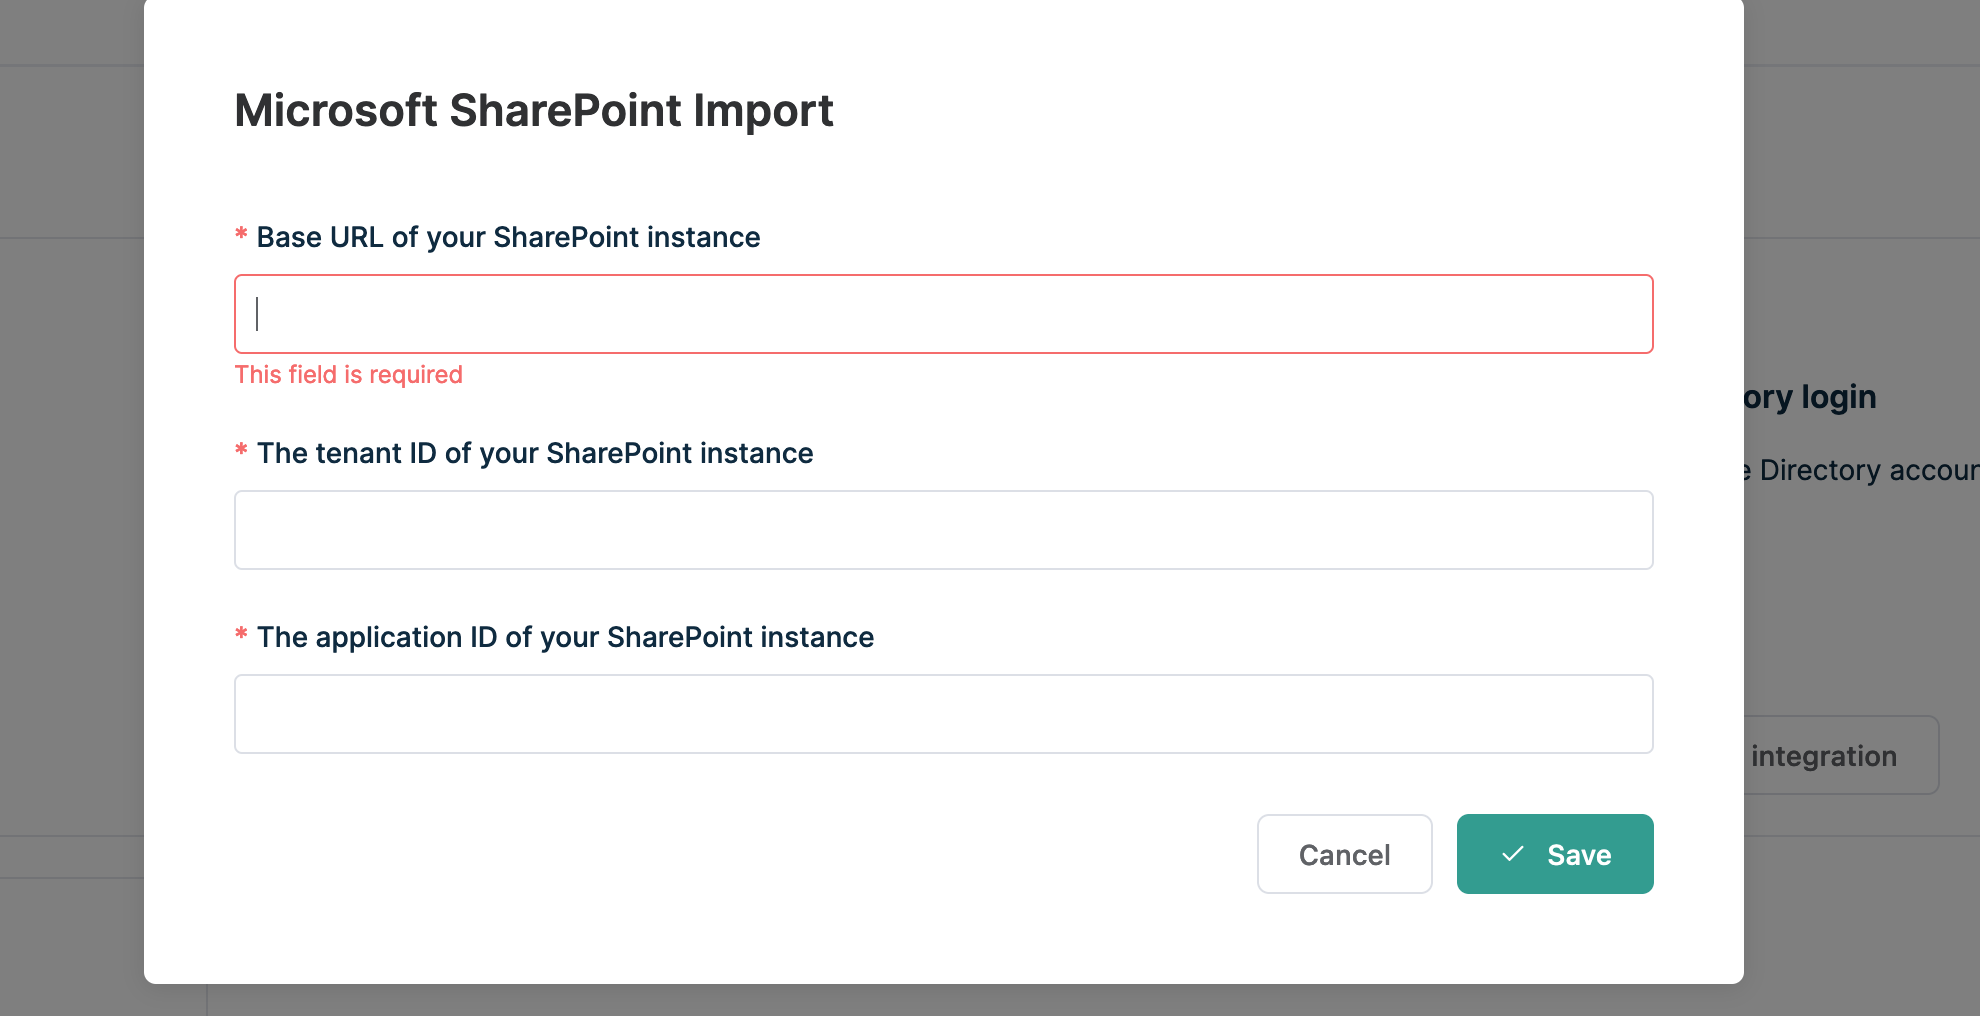
Copy the following details:
- Application (client) ID
- Directory (tenant) ID
- URL shown in your browser (https://abc123.sharepoint.com or https://company.sharepoint.com)
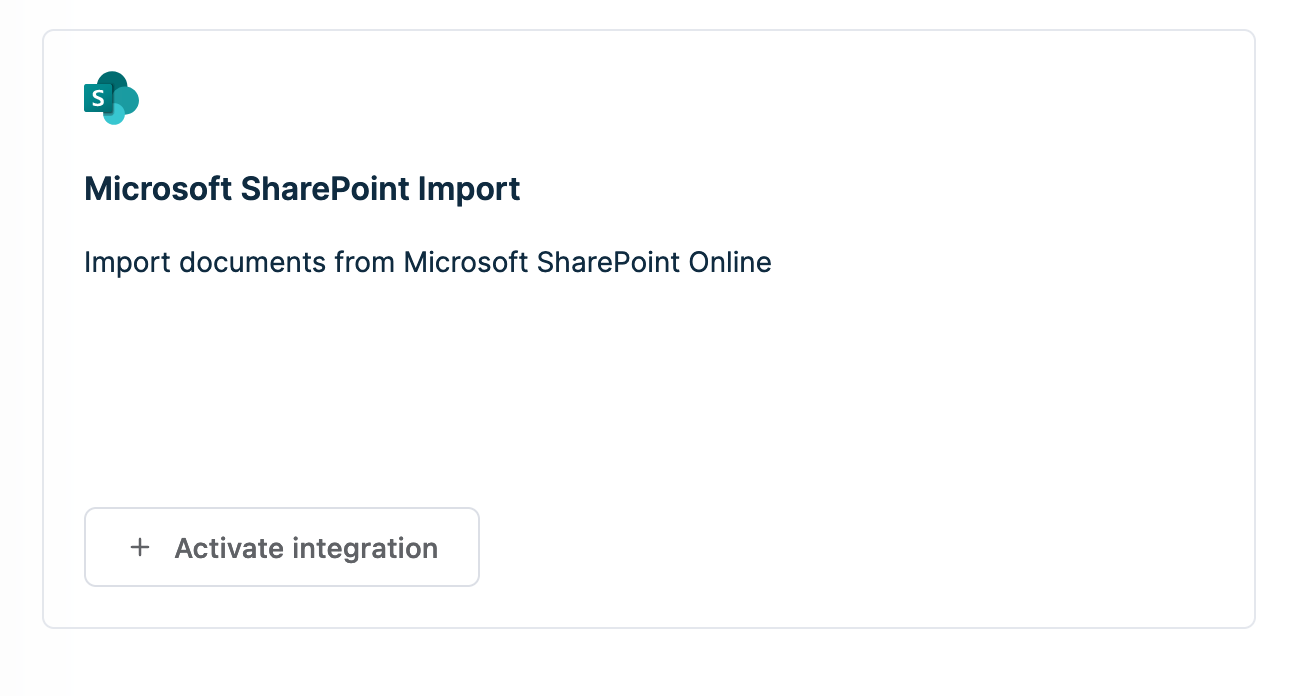
As an admin user:
Go to the Contractify Integrations and activate the Integration.
Enter the required information
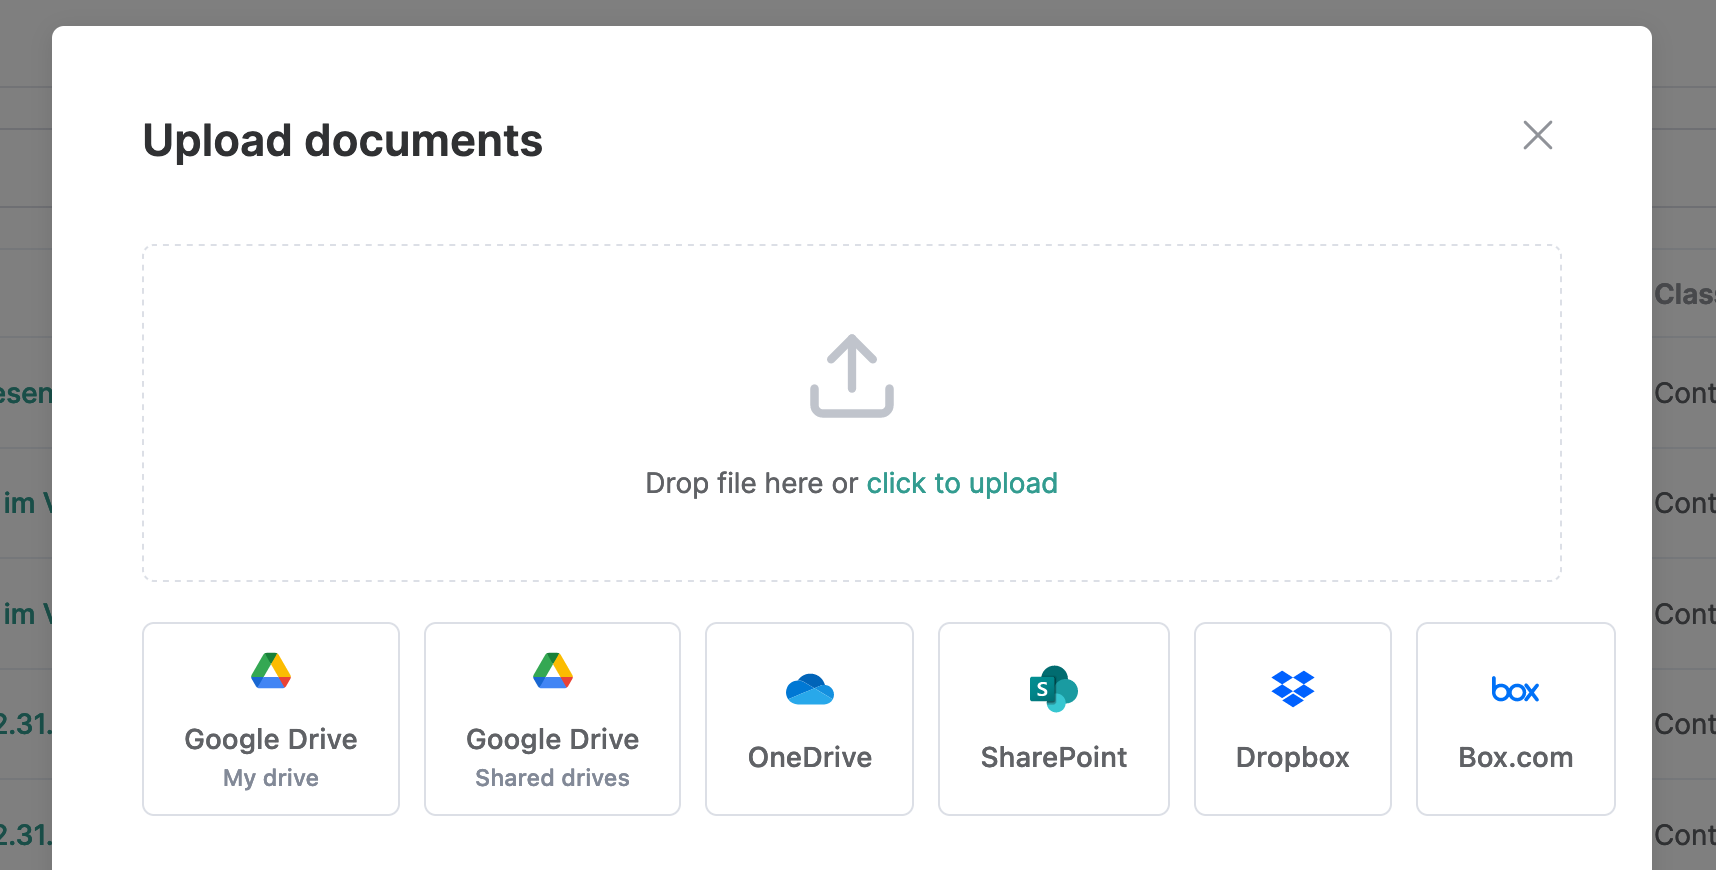
Sharepoint is now shown as an import option when selecting new files