
Do you want to search in all categories or in this category ?

The Contract Editor is accessible via the '+ Add contract' button for a new contract or via the 'Edit' button on the contract overview page of an existing contract.
On the right side of the screen, you’ll find all the metadata fields that can be completed. On the left, you have the option to upload one or more files using the designated upload area.
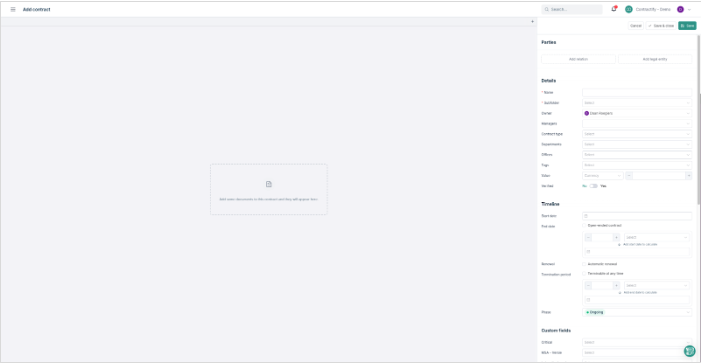
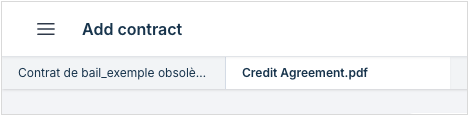
If you upload multiple files, you can switch between them at the top of the editor to preview them. You can click on '+' to add more documents to your contract.
At the bottom of the screen, our trusted AI Assistant ADA will provide suggestions to help pre-fill metadata fields. You may choose to accept or reject these suggestions. The same suggestions will also appear next to the corresponding fields on the right side.
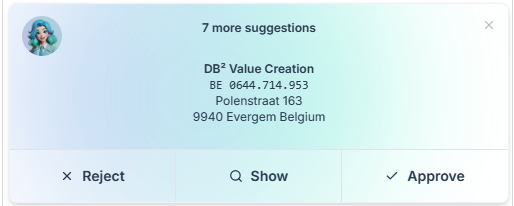
ADA’s suggestions follow the chronological order of our metadata fields. You can fill out all relevant fields manually if necessary.
The process concludes with a summary section at the bottom of your page. ADA can answer questions about the entire content of the file. Some examples include:
“Give me a detailed summary of the file”
“List the key dates in bullet points”
“Provide a short summary in French”
“Is there an exclusivity clause in the document?”
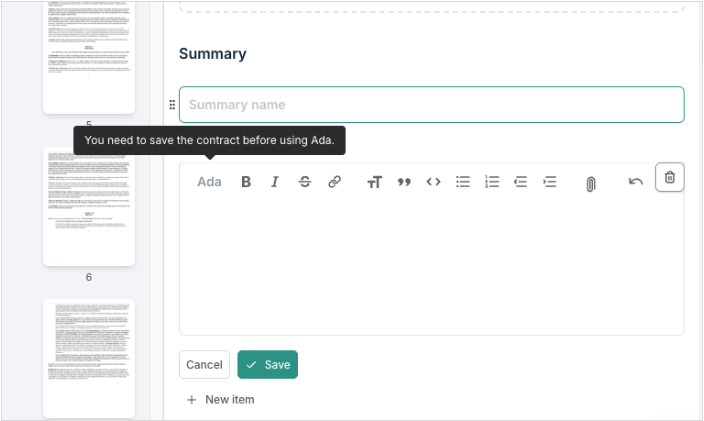
Your tasks are generated once the contract has been saved.
At the top of the screen, you’ll find the following options:
Cancel: deletes all entered data and returns you to the home page
Save: saves the contract and keeps you in the editor
Save & Close: saves all data and redirects you to the new contract overview page

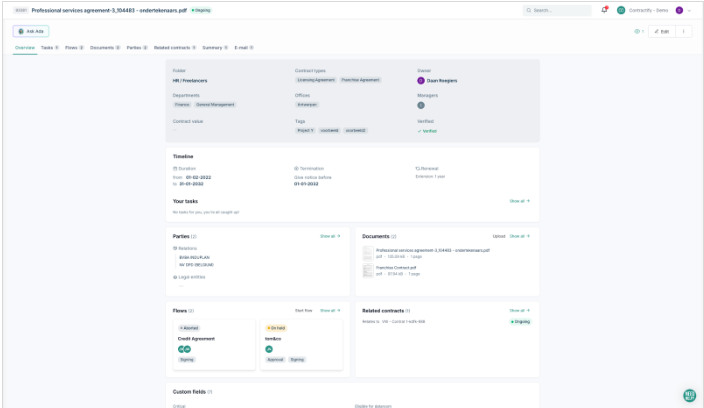
The contract overview page has also been completely revamped, based on valuable customer feedback. Special attention was given to improving usability and preparing the interface for future updates.
You can also ask ADA questions about the contract at any time, without needing to return to the editor.
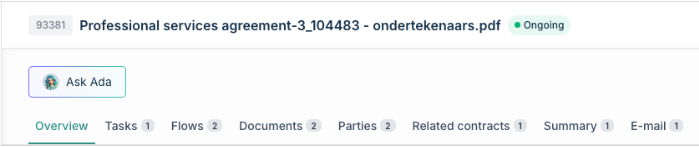
The overview page now includes a clear navigation structure, allowing you to view different types of information in separate tabs.
Below the overview, you’ll find the key information:
All settings related to reading permissions (e.g. folder, location, department)
A timeline with key dates and upcoming tasks
The parties linked to the contract
The files associated with the contract
The workflows involving the files.
Related contracts
Custom fields
If you see anything that requires editing, you can return to the editor at any time by clicking 'Edit' in the top right corner.


A basic user guide on how to configure your Contractify environment.


